How to Shim Door Hinges
If you’re a contractor or commercial door and frame installer with questions about how and when to shim door hinges, you’ve come to the right place.
In this article, we’ll cover the most common shim materials (for better or worse) like paper, wood and plastic and discuss how to use shims to fix hinge binds and frames that are slightly out of square.
Choosing Shim Materials (That Won’t Negate a Fire Rating)
There are many different materials used for the purpose of shimming hinges, but you should choose wisely rather than just grab whatever’s handy. Job sites generally have all types of scrap material lying around such as plastic, paper, wood, and metal. All have been used at one time or another for shimming hinges.
Are they all equally viable? Let’s examine them one by one.

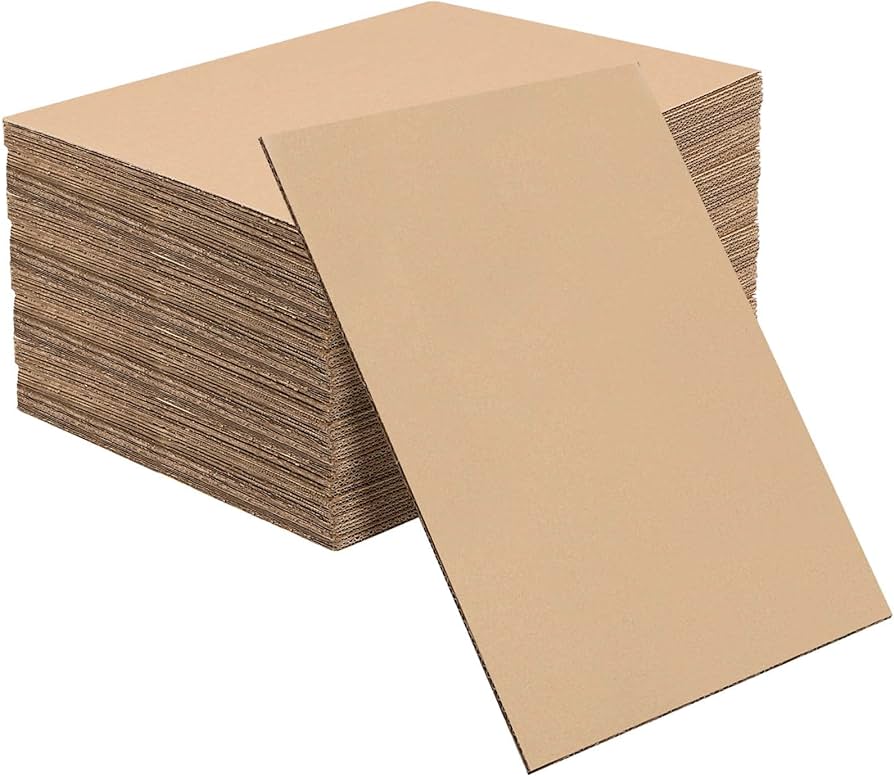
Paper or Thin Cardboard Stock
Many people prefer this material because it is readily available – even the hinge box is made of it! It is simple to cut to size, and can be easily stacked or folded to the desired thickness.
This material is a perfectly acceptable to use as long as it is for an interior opening that is not fire rated. However, it should not be used for exterior openings or anywhere moisture might be present. Paper or cardboard should also never be used on a fire-rated opening since it may compromise the rating.

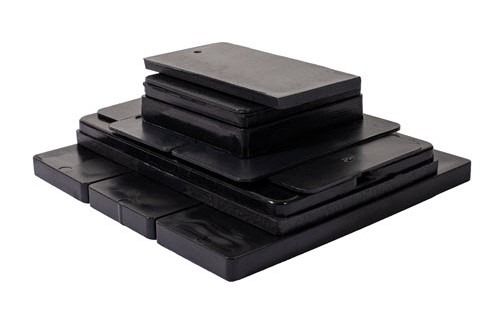
Plastic
Plastic materials are often easily found on the job site and are a fine choice for hinge shimming. The benefit of plastic is that when used in exterior or damp locations, it will not break down like a paper shim.
Plastics are typically a little harder to use because they may be more challenging to cut to size; and if stacked for thickness, may be hard to hold in position. They should also not be used in fire-rated openings.

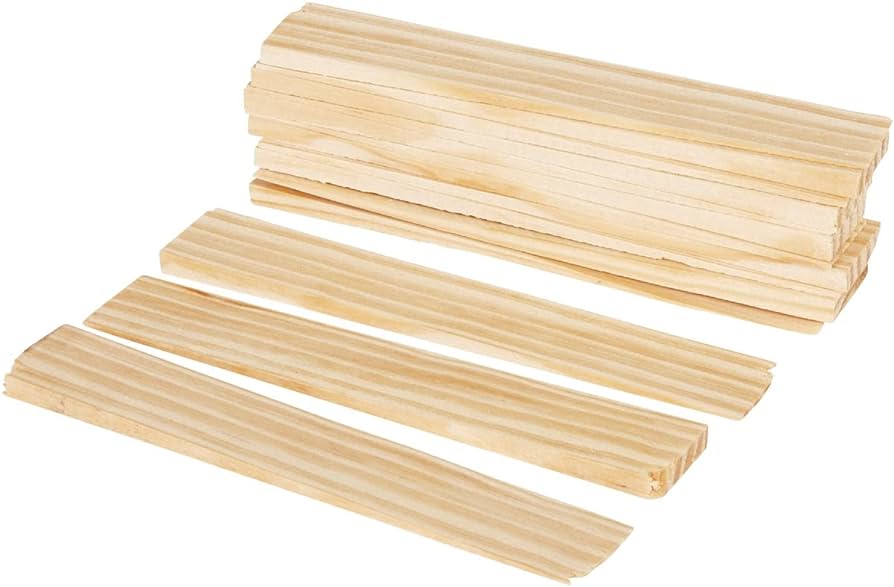
Wood
Wood is bad choice for a hinge shim material. Wood shims can be difficult to cut to size. The fibers of a wooden shim can splinter and break down over time. They also swell or warp in moist conditions.
Most importantly, wood is flammable and is therefore not permissible in fire-rated openings.

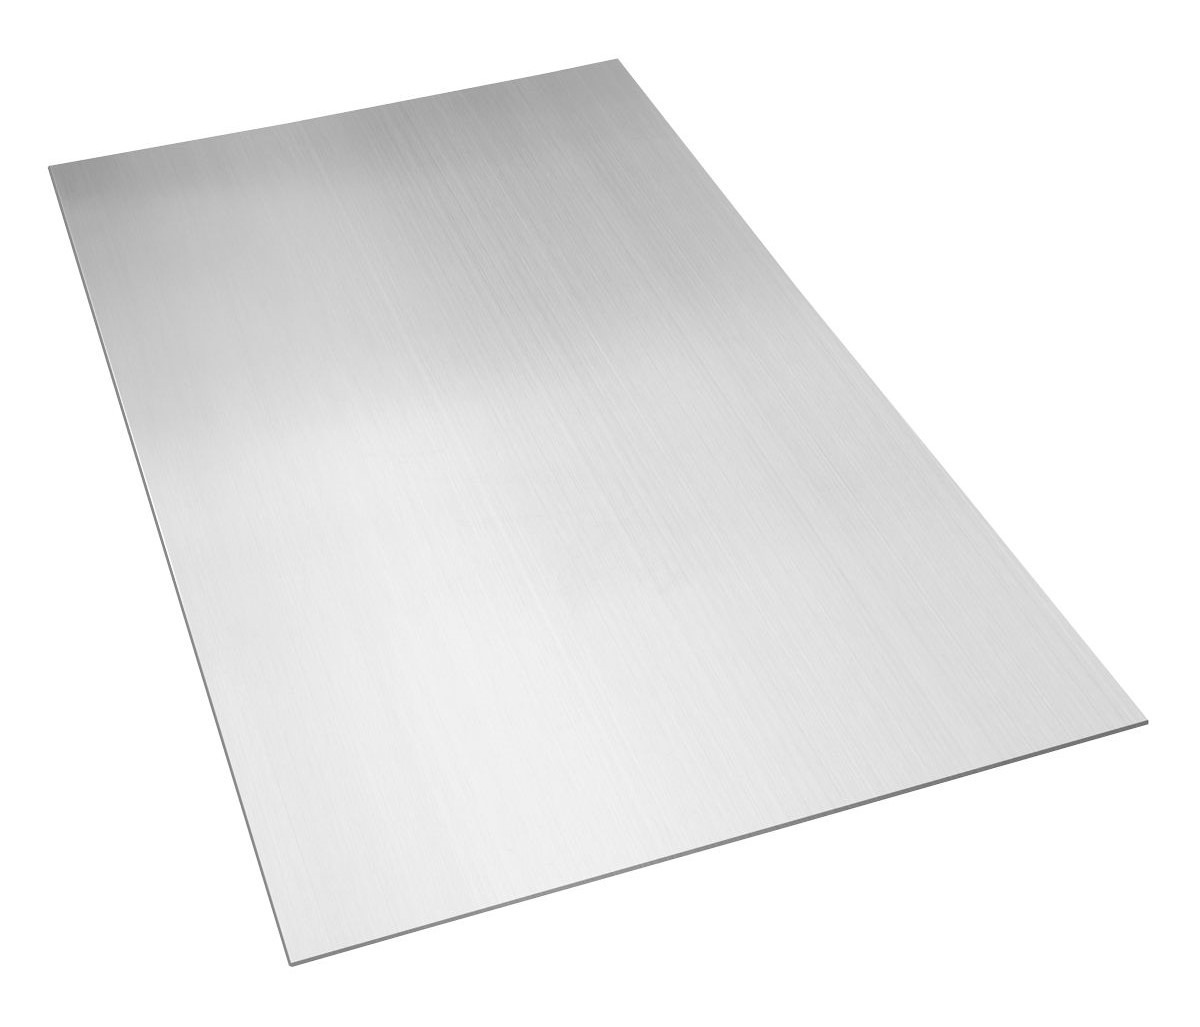
Steel
Steel is the ideal material for hinge shims. The shims will not deteriorate in exterior openings as the steel should be galvanized. Steel shims are also acceptable for use in fire-rated openings per NFPA 80.
Unlike the other items on this list, these won’t be found just lying around the job site. But they can be obtained from most door and hardware distributors.
Three Types of Hinge Binds (And How Shims Can Fix Them)
Now that we’ve discussed the strengths and weaknesses of the most common shim materials, we’ll move on to how and when to shim door hinges and the types of hinge binds.
Using Shims to Fix a Hinge Bind Against Rabbet
Hinge bind against the rabbet is when the edge of the door closest to the hinge barrel is hitting the rabbet of the frame and not allowing the door to open or close properly.
This is the most common type of hinge bind. To eliminate the bind, try this method of shimming.
Here’s how to fix it:
- Place a support or wooden wedge under the door to relieve tension.
- Starting with the top hinge, remove the hinge and add a steel shim between the leaf of the hinge and the door or frame.
- Repeat this process for each hinge on the unit.
- Use two shims, that are each half the thickness of those just used, to minimize the gaps and allow the hinge leaf surfaces to remain flush with the rabbet and backset surfaces.
- Reinstall the hinge and be sure to tighten the hinge screws into the reinforcement.
- Remove the support or wooden wedge from under the door and close it slowly.
- Check the clearances for the desired dimension.
- After each adjustment, close the door slowly to check the perimeter clearances.
Using Shims to Fix a Hinge Bind Against Stops
Hinge bind against the stop is when the edge of the door at the hinge side closest to the stop is hitting the rabbet of the frame and not allowing the door to close properly.
This causes the door to spring back away from the frame on the lock side. There are several ways of shimming which will move the door to eliminate the bind.
The following guidelines should be used in shim applications:
- Open the door and place a support or wooden wedge under the door to relieve tension.
- Starting with the top hinge, remove the hinge and add a shim between the leaf of the hinge and the frame. Note: Smaller shims should be used in this application.
- The shims should be added between the hinge and hinge reinforcement, pushing the door away from the rabbet and eliminating the bind.
- Repeat this process for each hinge on the unit.
- Remove the support or wooden wedge from under the door and close it slowly to verify that the clearances meet the desired dimensions.
This figure shows a hinge and a hinge-reinforcement in a metal door frame, and the possible locations that shims can be placed to adjust clearances.
- Using shim “A” only will move both the door and centerline of the hinge barrel in the “-X” direction
- Using shim “B” only will move the door only in the “-X” direction
- Using both shims “A” and “B” will move the door in the “-X” direction by a greater amount than using them individually
- Using shim “C” only will move both the door and centerline of the hinge barrel in the ”+X” direction
- Using shim “D” only will move the door only in the “+X” direction
- Using both shims “C” and “D” will move the door in the “+X” direction by a greater amount than using them individually

Using Shims to Fix Frames That are Slightly Out of Square
Proper frame installation cannot be overemphasized. In the majority of wall constructions, (“slip-on” drywall type frames being the major exception) “quick” or “easy” field fixes are limited.
Improperly set frames that are drastically out of square will cause severe door and hardware problems. These types of situations would require extensive field repair and may result in having to remove frames from walls.
If the “out of square” condition is slight, some adjustments can be made by shimming and/or adjusting anchors, particularly if the frame being worked on is a slip-on drywall type.
- Remove the door from the frame.
- Remove the nails or screws that are securing the sill anchors to the wall. This will loosen the jamb and allow it to be squared and fix the twist.
- If the frame is caulked in place, take a razor knife and score along the return of the frame and wallboard to cut any caulking or paint that has been used. Be careful not to damage the wallboard when cutting.
- If the head was not level, this needs to be corrected first.
- Determine whether to shim up the strike, hinge, or possibly both to level the head.
- Loosen the compression anchor screw on the jamb that needs to be moved to level the head.
- Insert the temporary spreader between the jambs, ensuring that all rabbets contact the setting spreader. This will correct the door opening dimension by moving the jamb, rabbets, and faces into a parallel position.
- Set the strike jamb first by adjusting the compression anchors and then checking squareness with the head. Then check that the jamb is plumb.
- Install the base anchor loosely.
- Set the hinge jamb next and repeat the previous step.
- Once the jambs are correct, tighten the screws to the sill straps or frame face and also tighten the compression anchors.
- Check for level and plumb before completely tightening.
- Remove the spreader bar and hang the door back in the opening.
- Verify that all perimeter gaps between the door and frames are consistent and correct for the manufacturer.
- If baseboards were removed, they can now be reinstalled to the wall.
- If caulking was cut, reapply the caulking and paint as required.
The procedures in this article are only guidelines. Please follow all applicable building codes, standards, and accepted practices specific to your geographic location.

